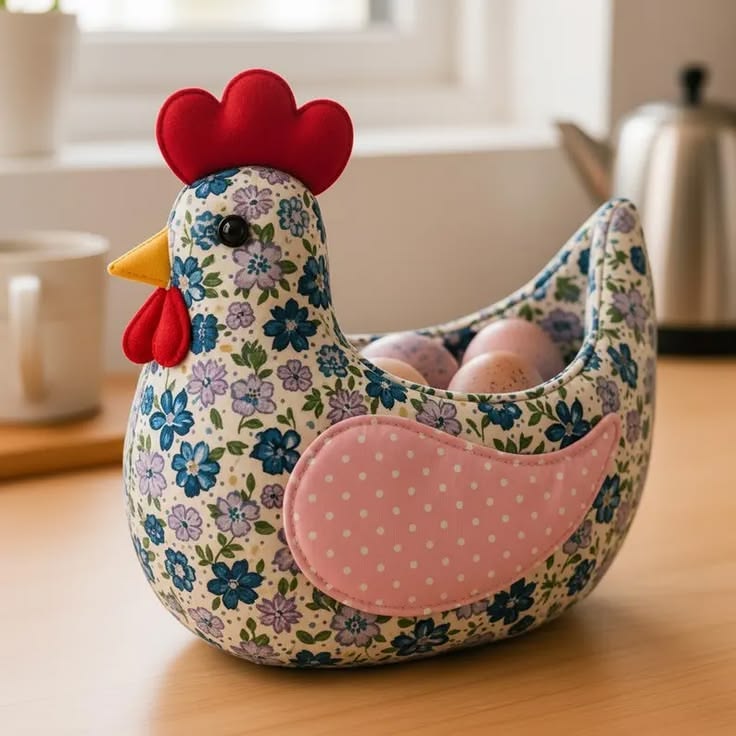
Chicken Pattern Fabric Egg Holder

Pattern for sewing a fabric trivet is one of the most rewarding projects for anyone who enjoys sewing practical and beautiful home accessories.
Making a fabric trivet is an excellent way to use fabric scraps that might otherwise go to waste. Quilting cotton, linen, denim, or even canvas can all be transformed into durable kitchen accessories when paired with heat-resistant batting.
Another advantage of following a Pattern for sewing a fabric trivet is that the project teaches valuable sewing skills without becoming overwhelming. You will practice measuring, cutting, layering fabrics, quilting, sewing curves or straight edges, pressing seams, and finishing techniques. Every step contributes to improving your confidence while producing something both attractive and useful that can be enjoyed every day.
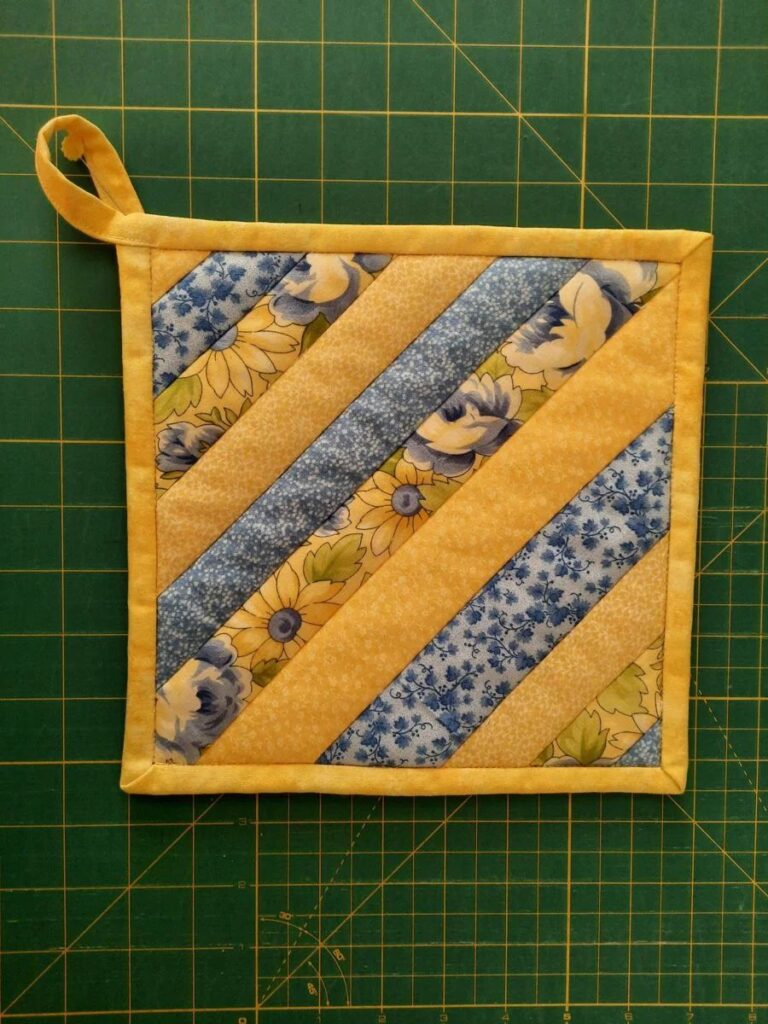
The first step in creating a beautiful fabric trivet is selecting the right materials. Cotton fabric remains one of the most popular choices because it is easy to sew, widely available, and comes in countless prints. Coordinating two different fabrics for the front and back can create an attractive reversible design.
Heat-resistant batting is another essential component. Insulated batting helps protect surfaces from warm cookware and adds structure to the finished trivet. Always choose batting intended for kitchen projects to improve durability and safety.
Begin by deciding on the finished size. A square measuring approximately 8 to 10 inches works well for most casserole dishes, while circular or hexagonal shapes offer a decorative alternative. Draw your pattern on paper before cutting the fabric.
Cut two fabric pieces using the paper template. Then cut one or two pieces of insulated batting depending on the desired thickness. Accurate cutting ensures that all layers align properly during sewing.
Before sewing, press every fabric piece with an iron. Smooth fabric helps produce precise seams and prevents wrinkles from becoming trapped between layers, resulting in a cleaner finished project.
Lay the materials together in this order: backing fabric with the right side facing down, batting in the center, and front fabric with the right side facing up. Pin or clip the layers securely so nothing shifts during quilting.
Start quilting the layered sandwich before sewing around the outer edges. Straight parallel lines are simple for beginners, while diagonal grids, diamonds, or gentle curves provide a more decorative appearance.
Begin stitching from the center and gradually work outward. This technique minimizes puckering and keeps the fabric smooth across the entire surface. Sew slowly and maintain consistent stitch length.
After quilting, place the paper pattern back on top and trim any uneven edges. This ensures your trivet maintains a balanced shape before the binding or finishing stage.
If you prefer rounded corners, carefully trim each corner using scissors. Rounded corners often make binding easier and give the finished trivet a softer appearance that complements many kitchen styles.
Prepare fabric binding by cutting strips on the straight grain or bias, depending on the curves in your design. Join the strips if necessary and press them in half lengthwise before attaching them.
Sew the binding around the edges carefully, folding it neatly over both sides before topstitching. Take extra care when turning corners or navigating curves so the binding remains smooth and evenly stitched.
Quality stitching contributes greatly to the longevity of a handmade trivet. Using polyester thread provides excellent strength while maintaining flexibility after repeated washing and daily use.
Select a needle suitable for quilting cotton and multiple fabric layers. A fresh universal or quilting needle reduces skipped stitches and helps the machine feed thick sections evenly.
Press your work after every major sewing step. Frequent pressing creates crisp seams, improves accuracy, and gives the finished trivet a polished appearance similar to professionally made products.
Decorative quilting adds both beauty and stability. Simple geometric lines, crosshatch quilting, leaf motifs, or free-motion designs all secure the layers while enhancing the overall design.
Color coordination also plays an important role. Neutral fabrics create timeless elegance, while seasonal prints bring festive charm for holidays, family gatherings, and special celebrations throughout the year.
Before placing hot cookware on your finished trivet, test it using a warm dish rather than an extremely hot pot. This allows you to evaluate the insulation while helping preserve the longevity of your handmade project.
One enjoyable aspect of following a Pattern for sewing a fabric trivet is the opportunity to personalize every detail. Floral prints create a charming farmhouse appearance, while modern geometric fabrics fit contemporary kitchens beautifully.
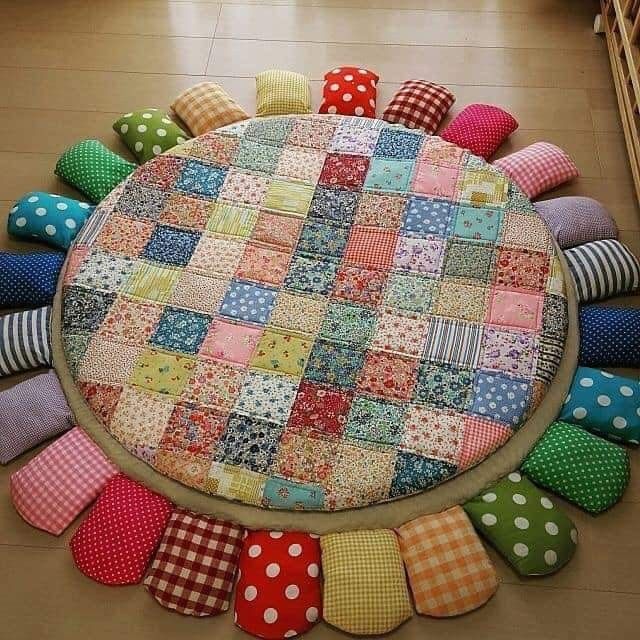
Patchwork designs offer another creative option. Combine leftover fabric squares into a unique quilted block before assembling the trivet. This technique reduces waste while showcasing multiple coordinating prints in one project.
Appliqué can transform a simple trivet into seasonal décor. Hearts, pumpkins, flowers, stars, snowflakes, or fruit shapes make each trivet unique and suitable for different occasions throughout the year.
Embroidery adds an elegant handmade touch. Simple stitched words, initials, or decorative vines personalize the project without making construction overly complicated for confident beginners.
Experiment with different shapes beyond traditional squares. Round, oval, leaf-shaped, hexagonal, or flower-inspired trivets can become attractive decorative accents when not actively protecting kitchen surfaces.
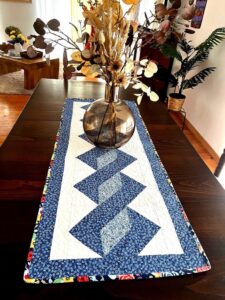
Create matching kitchen accessories using the same fabrics. Coordinating oven mitts, placemats, table runners, napkins, or pot holders produce a cohesive handmade collection that enhances the overall appearance of your dining space.
What fabric is best for a fabric trivet?
One hundred percent cotton is usually the preferred choice because it is easy to sew, durable, and available in countless colors and prints.
Should I use insulated batting?
Yes. Heat-resistant insulated batting provides additional protection for tables and countertops while helping the trivet maintain its shape.
Can beginners make this project?
Absolutely. A Pattern for sewing a fabric trivet is beginner-friendly because it introduces essential sewing techniques without requiring advanced skills.
What size should a fabric trivet be?
Most finished trivets measure between 8 and 10 inches, although larger sizes can be made for casserole dishes or serving trays.
How do I quilt the layers?
Simple straight-line quilting is ideal for beginners, but diamonds, grids, or decorative free-motion quilting also work beautifully once you gain confidence.
Can I wash a handmade fabric trivet?
Yes. Most cotton trivets can be machine washed using a gentle cycle and allowed to air dry or tumble dry on low heat, depending on the batting manufacturer’s recommendations.
Can I use fabric scraps?
Definitely. Fabric trivets are among the best scrap-busting sewing projects because even small leftover pieces can become beautiful patchwork designs.
Do I need binding around the edges?
Binding creates a durable, professional-looking finish, although some patterns also use a turned-edge construction depending on the desired appearance.
Creating a Pattern for sewing a fabric trivet is an enjoyable project that combines creativity, practicality, and valuable sewing experience. Throughout this guide, you learned how to choose appropriate fabrics, prepare the pattern, layer the materials correctly, quilt the project, finish the edges neatly, and customize the final design with decorative details that reflect your personal style. Even beginners can achieve beautiful results by following each step carefully and taking time to press, measure, and sew accurately.
A handmade fabric trivet is much more than a simple kitchen accessory. It protects surfaces, showcases your sewing skills, reduces fabric waste, and makes a thoughtful handmade gift for loved ones. As you become more confident, you can experiment with different quilting designs, seasonal fabrics, creative shapes, and coordinated kitchen sets that make every project unique.
I hope this complete guide has inspired you to start your own Pattern for sewing a fabric trivet and enjoy every stage of the creative process. If you make this project, I would love to hear your honest opinion about the tutorial. Feel free to share your experience, suggestions, and creative ideas, as your feedback can inspire other sewing enthusiasts to create their own beautiful handmade fabric trivets.