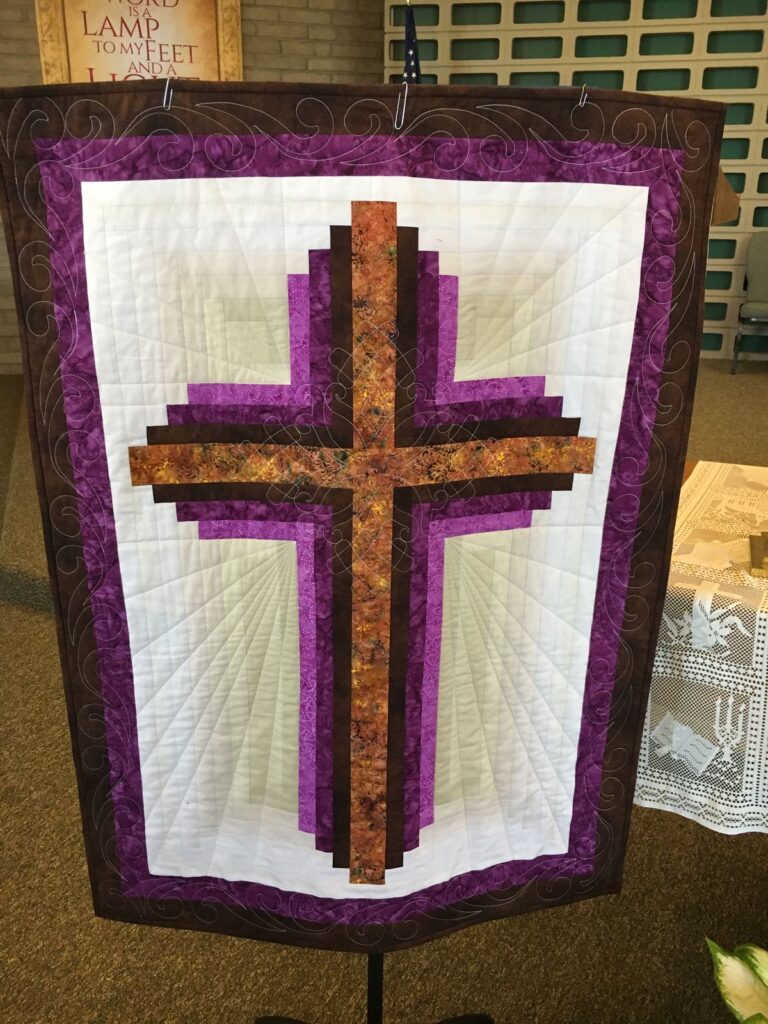
Log Cabin Cross Quilt Pattern

Log Cabin Cross Quilt Pattern is one of the most timeless and rewarding quilt designs for quilters who appreciate classic patchwork with a meaningful geometric layout.
One of the reasons the Log Cabin Cross Quilt Pattern remains so popular is its incredible versatility. By simply changing the colors, fabric collections, or block sizes, you can create quilts that look modern, rustic, vintage, farmhouse-inspired, or even seasonal.
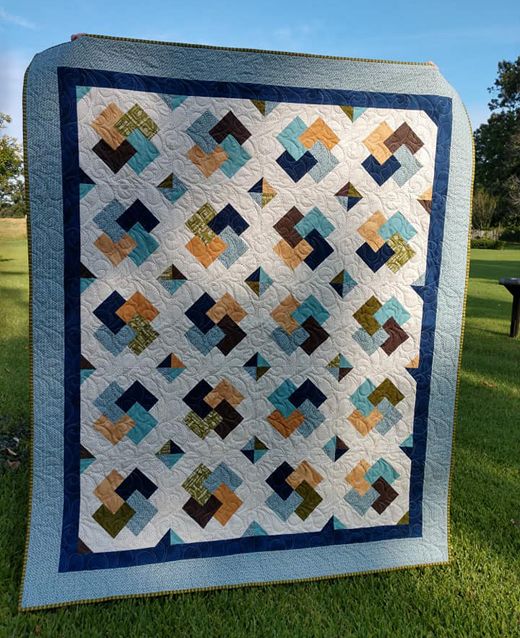
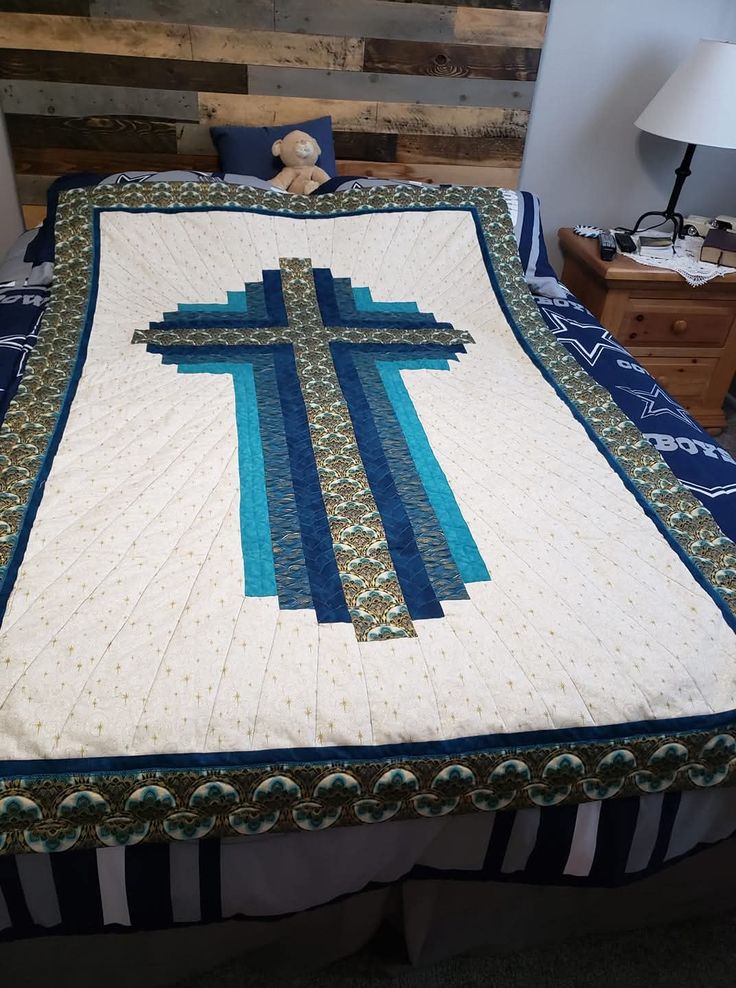
If the quilt shown in the project photo inspired you, you’ll be happy to know that recreating a similar design is easier than it appears. The key lies in careful cutting, accurate seam allowances, consistent pressing, and thoughtful color placement. This tutorial explains each stage of the process in detail, helping you confidently sew your own Log Cabin Cross Quilt Pattern while improving your quilting skills. Even if you are relatively new to patchwork, following each step carefully will allow you to produce a polished, professional-looking quilt.
Choose high-quality quilting cotton for the best results. Stable woven fabrics are easier to cut and sew, especially when assembling multiple blocks. Select one center fabric, several light fabrics, several dark fabrics, batting, backing fabric, and binding fabric that complement one another beautifully.
A rotary cutter, quilting ruler, self-healing cutting mat, sewing machine with a quarter-inch foot, pins or clips, and a reliable iron are essential tools. Sharp cutting tools improve precision and make block assembly significantly easier.
For a quilt similar to the photo, use approximately 12-inch finished Log Cabin blocks. A throw-size quilt may require around 20 to 30 blocks depending on the desired dimensions.
Press and starch the fabric before cutting whenever possible. Smooth fabric helps maintain accurate measurements and reduces stretching while sewing narrow strips together.
Sketch your quilt layout or arrange sample blocks on a design wall before sewing every block. This allows you to visualize how the cross motif will appear across the finished quilt.
The foundation of every Log Cabin Cross Quilt Pattern is the traditional Log Cabin block. Accuracy during this stage directly affects how well the finished quilt comes together, so take your time with measuring and sewing.
Begin with a center square, commonly measuring about 2½ inches unfinished. This center becomes the heart of every block and provides the starting point for building the surrounding strips.
Cut fabric strips in consistent widths, typically 2½ inches. Uniform strip widths help every block finish at the same size, making final assembly much easier.
Sew the first strip to one side of the center square using a precise quarter-inch seam allowance. Press the seam before adding the next strip, always keeping the fabric flat.
Continue adding strips in a clockwise direction around the center square. Traditionally, light fabrics are placed on two adjacent sides while darker fabrics occupy the remaining two sides, creating the characteristic Log Cabin contrast.
Trim every completed block to the exact unfinished size using a square quilting ruler. Squaring each block before assembly ensures the rows line up beautifully.
Repeat the process until you have enough identical blocks for your quilt. Consistency in construction is more important than speed, so focus on maintaining accurate seams throughout the project.
After completing all your blocks, the exciting part begins: arranging them to reveal the beautiful cross motif that defines the Log Cabin Cross Quilt Pattern. Small rotations of individual blocks dramatically change the overall appearance.
Lay all blocks on a large table, clean floor, or design wall. Rotate each block carefully until the light and dark sections combine to form repeating cross shapes across the quilt.
Compare your arrangement with the inspiration photo. Notice how alternating block directions create symmetry while emphasizing the central cross design throughout the quilt.
Photograph your layout before sewing. Viewing the arrangement on a phone or computer often reveals color balance issues that are difficult to notice in person.
Sew the blocks into horizontal rows first. Press seams in alternating directions from row to row so the intersections nest together neatly during final assembly.
Join the completed rows slowly, matching corners carefully with pins or clips. Accurate alignment creates crisp intersections that give the quilt a professional finish.
After the quilt top is complete, give it a final press from the back. Avoid stretching the quilt while ironing, especially around long seams where distortion can occur.
The final stages transform your carefully pieced top into a durable, cozy quilt ready for everyday use. Quilting secures the layers together while enhancing the overall appearance of the Log Cabin Cross Quilt Pattern.
Prepare your quilt sandwich by layering the backing fabric right side down, batting in the middle, and the quilt top right side up. Smooth every layer thoroughly before basting.
Secure the layers with safety pins, spray basting adhesive, or hand basting stitches. Proper basting prevents shifting while quilting and produces cleaner stitching.
Choose a quilting design that complements the geometric nature of the pattern. Straight-line quilting, stitch-in-the-ditch quilting, gentle diagonal lines, or simple echo quilting all highlight the Log Cabin blocks beautifully.
Trim excess batting and backing after quilting is complete. Leave clean, square edges before attaching the binding to achieve a polished appearance.
Prepare double-fold binding strips, sew them around the quilt perimeter with mitered corners, then hand stitch or machine stitch the binding to the back for a durable finish.
Wash the quilt gently if desired to create the soft, slightly crinkled texture many quilters love. After drying, your finished Log Cabin Cross Quilt Pattern will be ready to display, gift, or enjoy for years to come.
Is the Log Cabin Cross Quilt Pattern suitable for beginners?
Yes. Beginners who are comfortable sewing a consistent quarter-inch seam can successfully complete this project by working slowly and accurately.
What fabrics work best for this quilt?
High-quality quilting cotton is the most recommended option because it cuts accurately, presses well, and remains stable during piecing.
How many fabrics should I use?
Many quilters use one center fabric, several light prints, and several dark prints. Scrap fabrics also work beautifully while adding extra character.
Can I make this quilt larger?
Absolutely. Increase the number of blocks or enlarge each individual block while maintaining the same construction method.
What batting thickness is recommended?
Low-loft cotton or cotton-blend batting provides excellent stitch definition while keeping the quilt soft and comfortable.
Do I have to quilt by hand?
No. Both machine quilting and hand quilting produce beautiful results. Choose whichever method matches your experience and personal preference.
How can I keep my blocks the same size?
Use accurate cutting, maintain a consistent quarter-inch seam allowance, and square each completed block before assembly.
Is this pattern good for scrap quilting?
Yes. The Log Cabin Cross Quilt Pattern is considered one of the best scrap-friendly quilt designs because small strips from many different fabrics create wonderful visual interest.
The Log Cabin Cross Quilt Pattern is a beautiful combination of traditional craftsmanship and timeless design, making it a rewarding project for both beginners and experienced quilters.
Throughout this tutorial, you learned how to choose fabrics, prepare accurate cuts, build classic Log Cabin blocks, arrange them into the striking cross layout, assemble the quilt top, quilt the layers together, and finish the project with professional binding techniques. By focusing on precision, careful pressing, and thoughtful color placement, you can confidently recreate a quilt similar to the one shown in the inspiration photo while adding your own personal style through fabric selection.
Every quilt you create helps develop new sewing skills, improves your confidence, and results in a handmade piece that can be treasured for generations. The Log Cabin Cross Quilt Pattern offers endless possibilities for customization, allowing every finished quilt to become a unique expression of creativity while honoring one of quilting’s most beloved traditions. If you enjoyed this tutorial, please leave your honest opinion in the comments and share your suggestions or quilting experiences. Your feedback helps inspire new projects and supports other quilting enthusiasts who are beginning their own creative journey.