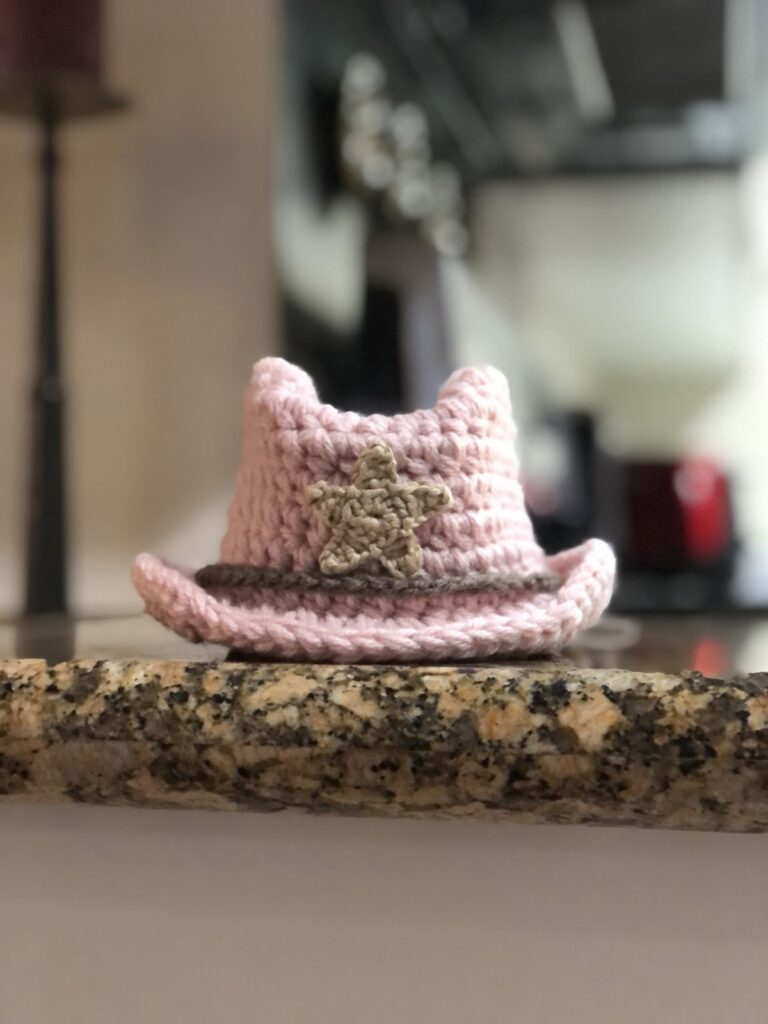
Crochet Cowboy Hat Pattern

Crochet daisy-shaped bag pattern is a delightful project that combines creativity, practicality, and the timeless beauty of floral crochet designs.
One of the reasons why the Crochet daisy-shaped bag pattern has become so popular is its versatility. The finished bag can be made in different sizes, colors, and yarn types while still maintaining the recognizable daisy appearance.
In this complete tutorial, you will learn every stage of the project, from choosing the best materials to assembling the flower-shaped panels, creating the bag body, adding the strap, and finishing the details. The instructions are beginner-friendly while also including useful techniques that experienced crocheters appreciate. By following each step carefully, you will be able to crochet a beautiful floral bag that is durable, functional, and full of handmade charm.
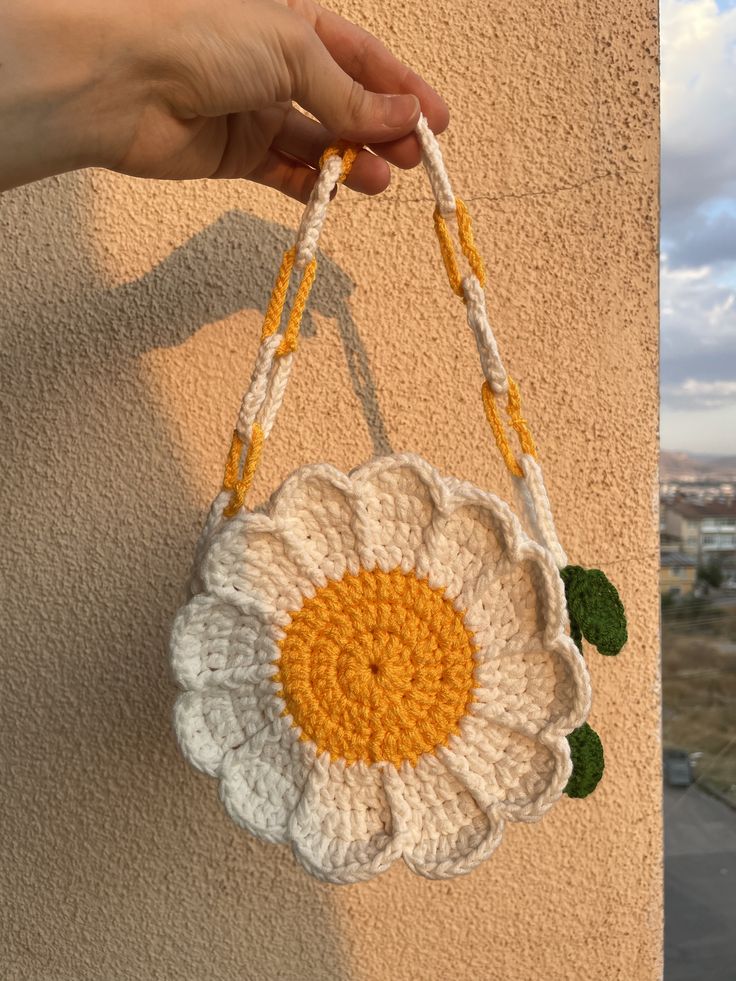
Before beginning your Crochet daisy-shaped bag pattern, gather all the materials needed for the project. Cotton yarn is highly recommended because it provides excellent stitch definition, durability, and enough structure to help the bag hold its shape during everyday use.
Choose three main yarn colors to recreate the classic daisy appearance. Yellow is commonly used for the flower center, white for the petals, and green, beige, or any preferred color for the background and bag body. Feel free to personalize the palette according to your own style.
A crochet hook between 4 mm and 5 mm works well with most medium-weight cotton yarns. Also prepare scissors, a yarn needle for weaving in ends, stitch markers, and optional magnetic clasps or buttons if you would like to add a closure.
The essential stitches for this project include chain stitch (ch), slip stitch (sl st), single crochet (sc), half double crochet (hdc), double crochet (dc), and magic ring. These stitches create the flower motifs while also building the sturdy bag structure.
Practice maintaining even tension before beginning the motifs. Consistent stitches ensure each flower remains the same size, making assembly much easier later in the project.
Once your materials are organized and the stitches are familiar, you are ready to begin crocheting the beautiful daisy motifs that define this unique bag.
Start with the flower center by creating a magic ring. Chain one and crochet 12 single crochet stitches into the ring. Join with a slip stitch and fasten off using the yellow yarn.
Join the white yarn to begin the petals. Each petal can be made using a simple combination such as chain 2, two double crochet stitches, chain 2, slip stitch into the same stitch. Repeat this sequence around the flower until you have twelve evenly spaced petals.
After completing the petals, join the background color and crochet evenly around the flower, gradually transforming the circular motif into a square or rounded panel depending on your preferred bag design. This makes assembling the bag much easier.
Crochet two identical floral panels. These become the front and back of your bag. Make sure both panels have exactly the same stitch count so they align perfectly during assembly.
Place the two panels together with the right sides facing outward. Join them using single crochet or slip stitches around the edges, leaving the top open. This creates a neat seam while adding decorative texture.
Finish the bag by crocheting several rounds around the top opening. Add eyelets by working chain 1, skip 1 stitch evenly around one round to create openings for the drawstring or decorative cord if desired. Finally, crochet or braid a sturdy shoulder strap and securely attach it to both sides of the bag.
One of the best features of a Crochet daisy-shaped bag pattern is how easily it can be customized. Simply changing the flower colors gives the project an entirely different personality.
Pastel petals create a soft vintage appearance that works beautifully for spring and summer outfits. Bright rainbow petals produce a cheerful accessory full of color and energy.
Experiment with textured stitches for the petals, such as puff stitches or popcorn stitches, to give the flowers extra dimension and visual interest.
Decorative borders around the flower panels can add elegance while strengthening the edges. Crab stitch, picot edging, or simple reverse single crochet all create attractive finishing details.
If you would like extra storage, sew a fabric lining inside the bag. A lining protects small items from slipping through the crochet stitches while helping the bag maintain its shape.
Additional decorations such as wooden buttons, handmade labels, tassels, beads, or crocheted leaves can transform a simple bag into a truly unique handmade accessory.
Always count your stitches after each completed flower motif. Matching stitch counts make assembly significantly easier and help the bag remain symmetrical.
Weave in yarn ends immediately after finishing each motif instead of waiting until the entire project is complete. This saves time and produces a cleaner finish.
Blocking the finished flower panels before assembly helps flatten the motifs and improves stitch definition, giving the bag a polished professional appearance.
When attaching the strap, reinforce the connection points with several extra stitches. These areas experience the most stress during everyday use.
If you plan to carry heavier items, choose mercerized cotton yarn because it offers excellent strength while resisting stretching over time.
Finally, enjoy the creative process. Every handmade Crochet daisy-shaped bag pattern becomes a unique reflection of your creativity, making each finished bag completely special.
Yes. Beginners who already know the basic crochet stitches can successfully complete this project by following each step carefully and practicing the flower motif before assembling the bag.
Medium-weight cotton yarn is the preferred choice because it provides durability, beautiful stitch definition, and enough structure for a sturdy finished bag.
Absolutely. Simply crochet larger flower panels or add extra rounds around each motif before joining them together to increase the overall bag size.
Most versions of this project use two large daisy panels for the front and back, although you can also combine multiple smaller flowers for a patchwork-style design.
While optional, adding a fabric lining greatly improves durability, prevents stretching, and keeps small items from slipping through the crochet stitches.
Yes. Hand washing with mild detergent is generally recommended for cotton crochet bags. Lay the bag flat to dry so it maintains its shape.
The project mainly uses chain stitch, slip stitch, single crochet, half double crochet, double crochet, and the magic ring, making it suitable for confident beginners.
Yes. Handmade floral crochet bags are popular gifts and market items because they combine practical everyday use with charming handcrafted style.
Making a Crochet daisy-shaped bag pattern is a rewarding project that combines beautiful floral motifs with practical everyday functionality. Throughout this guide, you learned how to choose the right yarn, prepare your materials, crochet the flower center, create the petals, build matching panels, assemble the bag, add a secure strap, and personalize every detail with decorative finishing touches. These techniques provide a solid foundation for creating a durable and eye-catching handmade accessory.
Whether you crochet this bag for yourself, as a thoughtful handmade gift, or as part of your craft business, the finished project showcases both creativity and craftsmanship. The classic daisy design never goes out of style, and each color combination offers an opportunity to create something truly unique.
Thank you for reading this tutorial. If you enjoyed learning this Crochet daisy-shaped bag pattern, please leave your honest opinion, share your experience making the project, and let us know your suggestions for future crochet tutorials. Your feedback helps inspire new ideas and supports the growing crochet community.