
Crochet Cowboy Hat Pattern

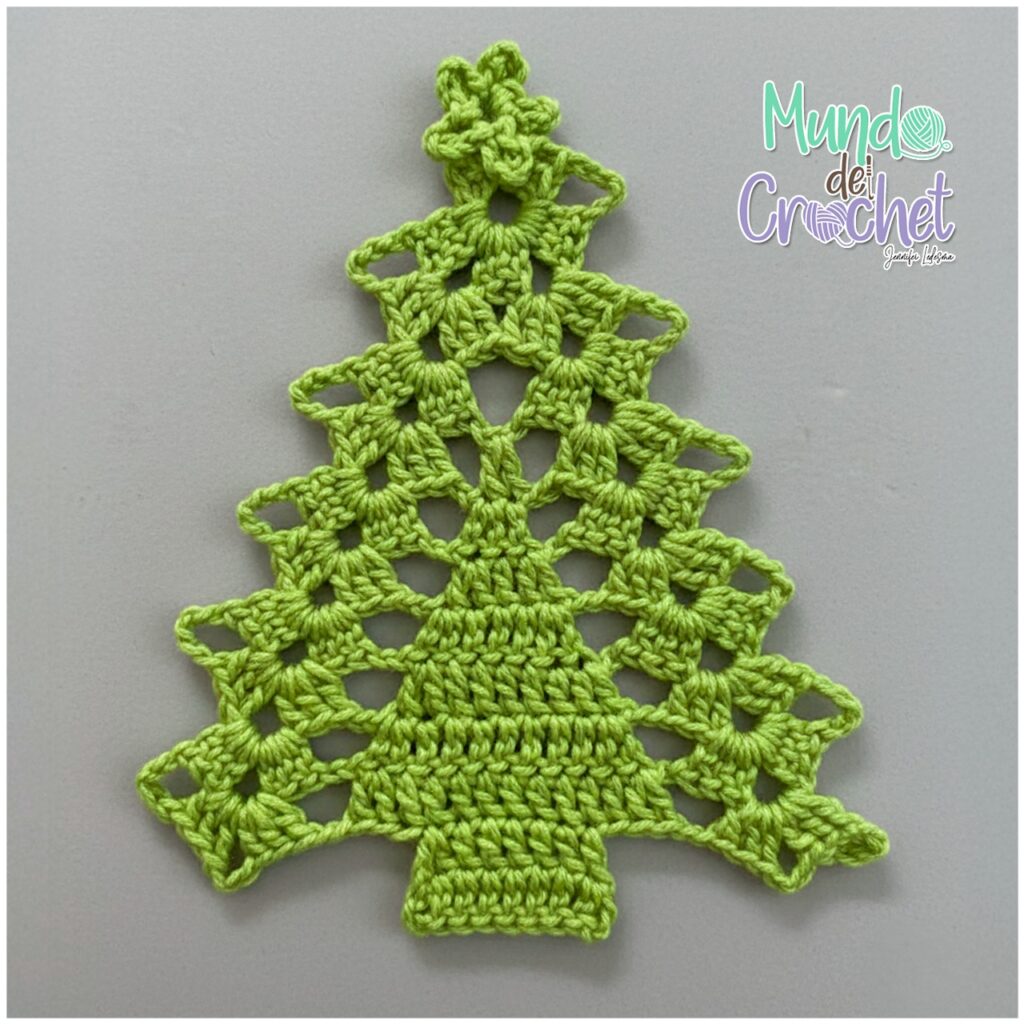
Creating a Christmas tree door ornament-Step by Step Tutorial is a wonderful way to bring festive charm to your home and welcome guests with holiday warmth. In this article, you will learn not only how to make a decorative door ornament shaped like a Christmas tree but also how to personalize it with creative touches. The process is simple, enjoyable, and suitable for beginners and experienced crafters alike. By using the keyword Christmas tree door ornament-Step by Step Tutorial throughout this guide, you will gain clear instructions while benefiting from a well-structured and SEO-optimized article.
Handmade holiday decorations add personality and meaning to your Christmas décor, and a Christmas tree door ornament is one of the most versatile pieces you can create. It can be made from fabric, felt, yarn, ribbon, or recycled materials, making it an eco-friendly and highly customizable project. Through this Christmas tree door ornament-Step by Step Tutorial, you will discover practical techniques, tips, and creative ideas to help you achieve beautiful results. Whether you prefer a traditional green tree or a modern and minimalist design, this project allows you to express your creativity freely.
One of the best things about crafting your own Christmas ornament is the satisfaction of seeing your creation displayed proudly at your front door. It becomes a symbol of holiday spirit, warmth, and personal effort. This Christmas tree door ornament-Step by Step Tutorial was carefully written to guide you smoothly from start to finish. With clear explanations, a humanized tone, and a focus on beginner-friendly steps, you will feel confident and inspired to start crafting your own festive masterpiece.
When starting this Christmas tree door ornament-Step by Step Tutorial, having all materials prepared in advance will make the process easier and more enjoyable. The first essential supply is felt or fabric in shades of green, depending on the style you want to achieve. Felt is particularly recommended because it is thick, easy to work with, and holds its shape well, making it perfect for door ornaments.
You will also need scissors, a hot glue gun or craft glue, and a marker or pencil for outlining shapes. These tools are basic but extremely important for ensuring clean cuts and precise assembly. If you prefer a more traditional approach, you can use a needle and thread instead of glue for some details, especially if you want a stronger and more durable finish.
To bring more structure to your Christmas tree ornament, adding a layer of cardboard or foam inside the tree shape is helpful. This prevents the ornament from bending or losing its form when hanging on the door. The sturdier the interior support, the longer your decoration will last throughout the holiday season.
Next, gather decorative elements such as ribbons, beads, buttons, pompoms, and glitter accents. These items will add charm and personality to your ornament. You can choose a classic Christmas theme with red, gold, and green details or experiment with more modern combinations like silver and white.
A piece of string, ribbon, or twine will be needed to create the hanging loop. This allows your ornament to be easily placed on your door handle or hung from a decorative hook. Make sure to choose a material that complements your tree design and is strong enough to support the weight.
Finally, prepare a clean, well-lit workspace. Organizing your crafting area before starting this Christmas tree door ornament-Step by Step Tutorial ensures that you can focus completely on the creative process without distractions or misplaced materials.
The crafting process of this Christmas tree door ornament-Step by Step Tutorial begins with drawing or printing a tree template. You can choose a simple triangular shape or a more detailed silhouette with several branches. Trace the outline onto the felt or fabric using a pencil or marker.
Once the shape is outlined, carefully cut it out with sharp scissors. Accuracy in this step is important because the tree shape is the foundation of your entire ornament. If you are making a double-layer ornament, cut two identical pieces to create a front and back.
Next, insert the cardboard or foam piece between the two fabric layers. This gives the tree more stability and prevents it from bending, especially if you plan to hang it on an outdoor door. Secure the edges using hot glue or by sewing around the perimeter, whichever method you prefer.
After assembling the main structure, start decorating the tree. Attach ribbons to form garlands, glue beads to mimic ornaments, or add small stars and pompoms for a festive touch. As suggested throughout this Christmas tree door ornament-Step by Step Tutorial, feel free to personalize your design to match your holiday décor.
The next step is to create the hanging loop. Cut a piece of ribbon or twine, fold it in half, and glue or stitch the ends to the back of the tree. Make sure it is firmly attached so the ornament hangs securely on your door. Adjust the length according to your preference.
To finish, check all edges and decorations to ensure they are firmly secured. A quick inspection prevents loose pieces and ensures your ornament lasts throughout the season. Once everything looks perfect, your handmade Christmas tree door ornament is ready to brighten your home.
One of the most enjoyable parts of this Christmas tree door ornament-Step by Step Tutorial is customizing your ornament. You can create traditional designs or step outside the box for a unique and eye-catching look. A classic idea is to add a star on top of the tree using felt or glittery foam. Stars instantly enhance the Christmas feel.
Another creative option is to use patterned fabrics instead of solid colors. Plaid, polka dots, and gold-printed fabrics add charm and personality to your ornament. These patterns help your tree stand out and give a warm, cozy appearance to your door décor.
Adding personalization is also a wonderful idea. You can include a small banner across the tree with words like “Joy,” “Peace,” or even your family’s last name. This detail creates a meaningful ornament that guests will admire.
For a rustic approach, consider using burlap instead of felt. Burlap brings a natural, farmhouse touch to your Christmas decorations. Pair it with wooden beads or cinnamon sticks for a warm and fragrant holiday accent.
If you enjoy working with yarn, you can also wrap your tree shape in green yarn to create a textured ornament. This gives the tree a fluffy and handmade look. Yarn pom-poms, buttons, or crocheted accents can complement this style beautifully.
Finally, for children-friendly designs, use bright colors, googly eyes, or cartoon ornaments. Kids love participating in this part of the Christmas tree door ornament-Step by Step Tutorial, and these cheerful additions make the crafting experience even more fun.
To ensure your Christmas tree door ornament-Step by Step Tutorial goes smoothly, a few helpful tips will make your project more enjoyable. First, always test your glue on small fabric scraps before applying it to the main design. This helps you avoid unwanted marks or excessive glue spreading.
When cutting felt or fabric, keep your scissors sharp to ensure smooth and clean lines. Precise cutting helps your ornament look professional and neat. A rotary cutter can be helpful if you prefer even cleaner cuts.
Organizing your decorative accessories in small trays or containers makes the process more efficient. It prevents beads, buttons, and tiny elements from getting lost and saves time during assembly.
If you choose to sew parts of your ornament, use small stitches for a clean and elegant finish. Hand-stitching gives a beautiful homemade touch and elevates the overall appearance of your Christmas tree decoration.
Be mindful of proportions when adding details. Too many decorations can make the tree look crowded, while too few may leave it looking plain. Finding the right balance will make your ornament visually appealing.
Finally, allow all glued parts to dry completely before hanging the ornament. This ensures durability and prevents pieces from falling off. With these tips, your Christmas tree door ornament-Step by Step Tutorial will be even more enjoyable and successful.
1. What materials are best for making a Christmas tree door ornament?
Felt, foam, fabric, cardboard, and decorative accessories like ribbons and beads work very well.
2. Can beginners follow this tutorial easily?
Yes, this guide is beginner-friendly and requires only basic crafting skills.
3. Is sewing necessary for this project?
No, you can use glue for most of the assembly, although sewing adds extra durability.
4. How long does it take to make the ornament?
Most people can complete it in 30 to 60 minutes, depending on the level of detail.
5. Can I customize the colors and decorations?
Absolutely. You can personalize your ornament with any colors, patterns, or accessories you prefer.
6. Is this ornament suitable for outdoor use?
Yes, as long as you use sturdy materials and strong glue to withstand weather conditions.
In this Christmas tree door ornament-Step by Step Tutorial, you learned how to gather materials, assemble the tree, decorate it creatively, and apply useful crafting tips for the best results.
This handmade project brings joy to your home and allows you to express your creativity during the holiday season.
I hope you enjoyed this tutorial and feel inspired to create your own beautiful door ornament. Please leave your sincere opinion and share your suggestions—I would love to hear your thoughts and ideas for future tutorials.


