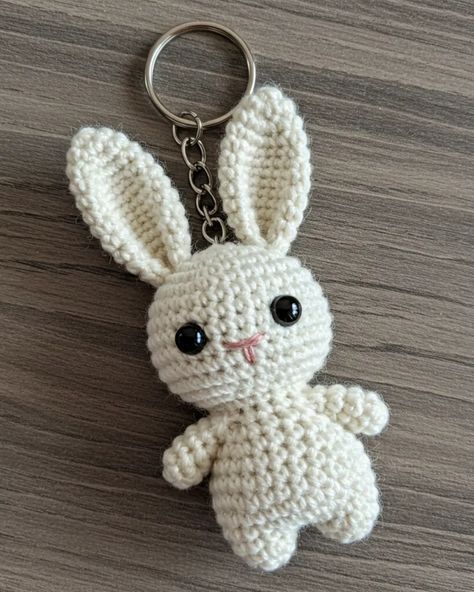
Cute crochet bunny tutorial

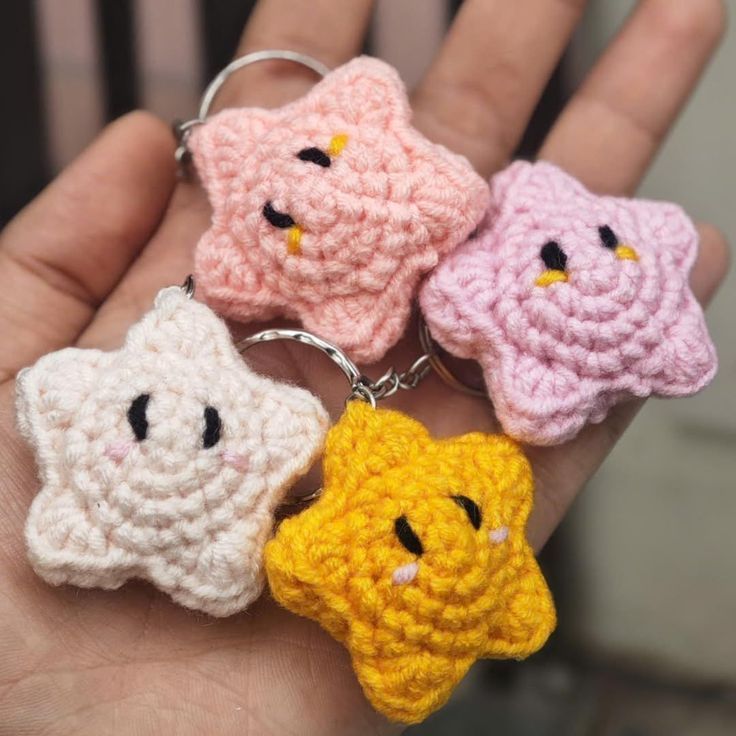
Learning how to make a crochet amigurumi star keychain – step by step tutorial is not only fun but also a great way to explore the art of crochet while creating something both practical and beautiful. A star-shaped keychain adds a touch of charm to your keys, bags, or even as a handmade gift for friends and loved ones. This project is small, quick to complete, and perfect for beginners who want to practice their skills while crafting something adorable. Throughout this article, we will explore the techniques, stitches, and ideas that will help you make your very own crochet star keychain with ease.
One of the biggest advantages of making a crochet amigurumi star keychain is that it does not require too much yarn or special materials. Even leftover yarn from bigger projects can be turned into cute stars, which makes this a sustainable and budget-friendly craft. The project is also portable; you can carry your yarn and hook with you anywhere and make these stars in just a few minutes of spare time. Handmade keychains like these are also wonderful items to sell at craft fairs or to gift as party favors, showing just how versatile this tutorial can be.
In this step by step tutorial, we will walk you through choosing your yarn, picking the right hook size, making the star shape, stuffing it to achieve a soft finish, and attaching it securely to a keychain ring. By following along, you will not only improve your crochet technique but also enjoy the satisfaction of creating something functional. Whether you are a beginner or an experienced crocheter, this guide is designed to give you detailed and humanized explanations that make the process simple and enjoyable.
To begin the crochet amigurumi star keychain – step by step tutorial, the first step is to gather the right materials. While this project is simple, using the right supplies will make your keychain look neat and durable. Always choose materials that are easy to work with, especially if you are still learning the basics of amigurumi crochet.
You will need a soft cotton yarn or acrylic yarn in your preferred color. Cotton is recommended for beginners because it holds stitches firmly and gives the star a neat finish. You can use bright yellow for a traditional star, or play with pastel, metallic, or even multicolor yarn for creative variations. The yarn weight should match your chosen hook size to avoid loose stitches.
The crochet hook size is also important. For a small star keychain, a size 2.5mm to 3.5mm hook is usually perfect, as it creates tight stitches that keep the stuffing in place. Always check the yarn label to see the recommended hook size, but keep in mind that a slightly smaller hook will help keep your amigurumi shape firm.
Next, you will need fiberfill stuffing. This is what gives the star its cute 3D effect. Use small amounts and push the stuffing into the points of the star so it looks evenly filled. Avoid overstuffing, as it can stretch the stitches.
You will also need a yarn needle to sew the two star pieces together and to weave in loose ends. A keychain ring or lobster clasp is required to complete the project, turning your star into a functional accessory. Finally, a pair of scissors to cut your yarn neatly will complete your toolkit.
Once you have all these materials ready, you can start crocheting without interruptions. Preparing beforehand helps you focus entirely on the fun part – making the star.
With these supplies in hand, you are ready to begin the tutorial and create your very first crochet amigurumi star keychain.
The step by step tutorial begins with crocheting two identical star shapes that will be joined together later. Each star is made with simple stitches, making this a great project for practicing your crochet skills.
Start with a magic ring. This technique allows you to begin crocheting in the round and tighten the center hole securely, which is especially important in amigurumi projects. Work five single crochets into the magic ring and pull it tight. This will form the foundation of your star.
Next, increase each stitch around by making two single crochets in every stitch. This gives you a small circle that will be the base of your star. Continue crocheting in the round, adding increases until the circle is large enough to begin forming the star points.
To shape the points of the star, you will work chains and single crochets in a specific sequence. For example, chain five, then slip stitch back down to the base circle, which creates a pointed effect. Repeat this process around the circle until you have five star points. Adjust tension carefully so the points are even.
Once your first star piece is complete, repeat the entire process to make a second identical star. These two pieces will be joined together later with stuffing inside to give the star its 3D shape.
Before joining, check that both stars are the same size. Slight differences can be corrected by gently blocking or adjusting stitches. Once ready, use a yarn needle to sew the two stars together with a whip stitch, leaving a small opening to insert stuffing.
Finally, stuff the star gently with fiberfill, making sure the points are evenly filled. Close the opening securely with more stitches, and your crocheted star shape is now complete.
Now that the star is ready, the next step in this step by step tutorial is attaching the keychain ring. This step is what transforms your crochet star into a practical accessory.
Choose a secure point at the top of the star where the ring will be attached. Using a small piece of yarn, create a loop at the top point of the star and knot it tightly. This loop will serve as the base to hold the keychain ring in place.
Slide the keychain ring or lobster clasp through the yarn loop. If you want extra durability, you can sew the loop into the star with a few extra stitches to prevent it from loosening with use.
Some crafters like to add an additional chain of crochet stitches between the star and the keychain ring to give it a little extra length and flexibility. This step is optional but can make the keychain easier to attach to bags or keys.
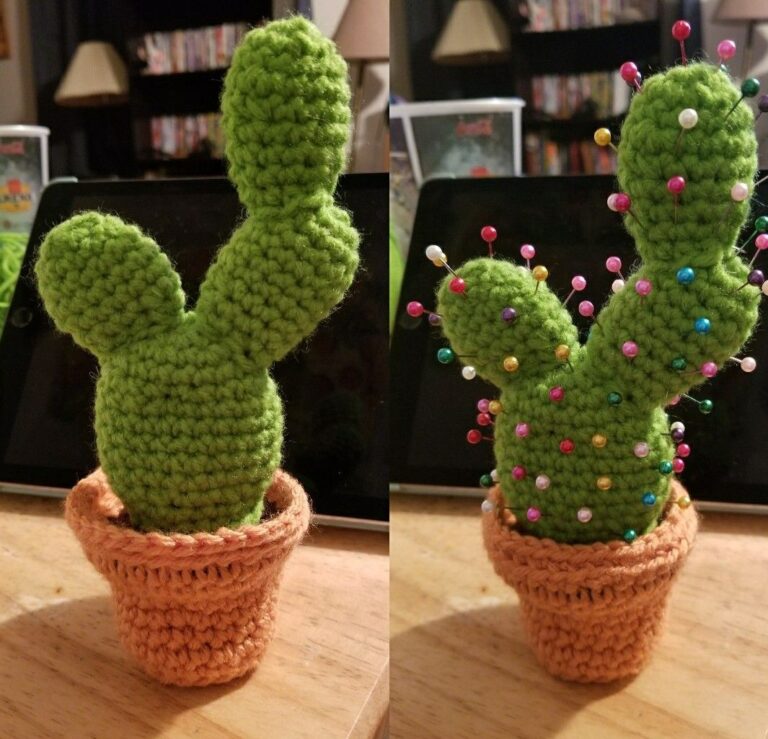
You can also personalize your crochet amigurumi star keychain by adding small embellishments. Beads, embroidery, or tiny safety eyes can give the star a unique personality. However, make sure these decorations are securely attached, especially if the keychain might be used by children.
Once the keychain ring is attached securely, give the star a gentle pull to test its durability. If everything holds well, your project is now complete and ready to use.
This final step brings functionality to your crochet project, turning it into a cute accessory that you can carry with you every day.
While this crochet amigurumi star keychain – step by step tutorial shows you the basic method, there are endless ways to customize your project. Creativity is what makes crochet so enjoyable, and a simple star shape can be adapted into many designs.
One idea is to use different yarn textures. For example, metallic or glitter yarn can give your star a magical, sparkling effect. Soft pastel cotton yarns create a gentle, kawaii look, while bold primary colors make the keychain stand out.
Another fun variation is to make the star double-sided with different colors. For example, crochet one star in yellow and the other in blue, then sew them together. This gives the keychain a playful two-tone effect.
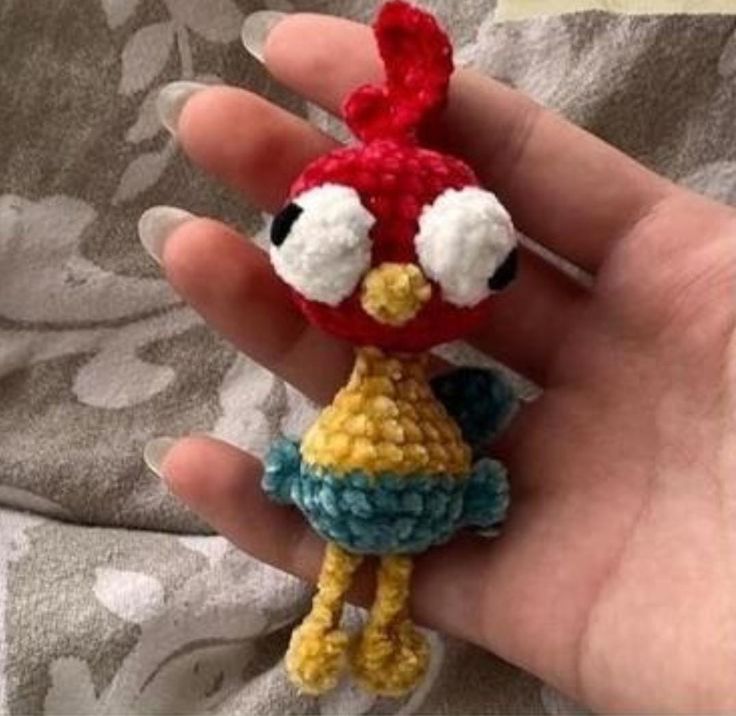
Adding facial features with embroidery is another way to personalize your star. Simple eyes and a smile can turn the star into a cute character, making it even more appealing as a gift.
You can also play with size. A smaller version works perfectly as a keychain, while a larger star can become a bag charm or holiday ornament. Adjusting yarn weight and hook size allows you to experiment with different dimensions easily.
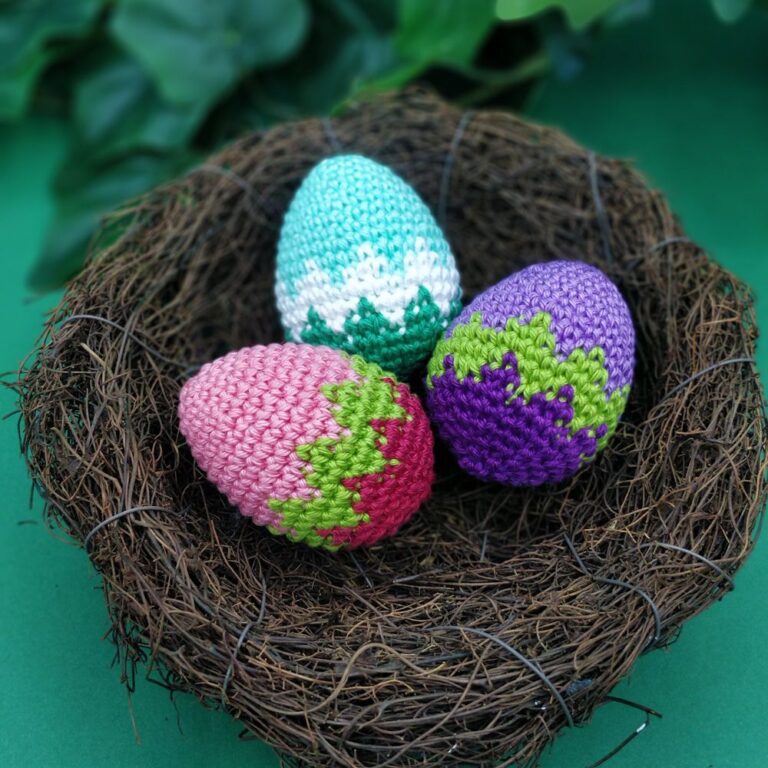
For special occasions, such as birthdays or holidays, you can create themed stars. For example, use red and green for Christmas, or pastel shades for Easter. This makes the crochet star keychain not just a useful item but also a seasonal decoration.
These creative variations allow you to take the basic tutorial and make it truly your own, giving each star a personal touch.
1. Can beginners follow this crochet amigurumi star keychain step by step tutorial?
Yes! This tutorial is designed for beginners. With basic knowledge of single crochet, chains, and slip stitches, anyone can make a star keychain.
2. What type of yarn is best for making a crochet star keychain?
Cotton yarn is best because it holds its shape well, but acrylic yarn can also be used. Just make sure the yarn is not too thick, as smaller stitches look neater for keychains.
3. How long does it take to make one star keychain?
On average, it takes about 1 to 2 hours, depending on your crochet speed. With practice, you can make them even faster.
4. Do I need special tools for this project?
No, you only need basic crochet tools: yarn, a crochet hook, scissors, stuffing, a yarn needle, and a keychain ring.
5. Can I wash the crochet star keychain?
Yes, but it is best to hand wash gently with mild soap and air dry, as the keychain ring may rust in a washing machine.
6. Can I sell crochet amigurumi star keychains made with this tutorial?
Absolutely! Handmade star keychains are popular at markets and online shops. Just remember to make them securely so they are durable for buyers.
In this crochet amigurumi star keychain – step by step tutorial, we explored how to create a beautiful and functional crochet accessory from start to finish. You learned about the materials needed, the process of crocheting two star pieces, stuffing and joining them, attaching the keychain ring, and even adding creative variations to make your project unique.
This project is perfect for beginners and experienced crocheters alike, offering a quick and rewarding way to use your crochet skills. It is also a sustainable craft, since it uses very little yarn and can even be made with leftovers.
Now that you know how to create your own crochet amigurumi star keychain, it is your turn to try it out. Share your results, leave your sincere opinion, and feel free to suggest new ideas or variations that you would like to see explained. Your feedback helps this creative community grow and inspires others to try new projects.

