
Patchwork blanket tutorial

Patchwork blanket tutorial is the perfect starting point for anyone who wants to explore the art of quilting while creating something both beautiful and practical. In this complete guide, you will learn how to design, assemble, and finish your own patchwork blanket tutorial project using simple techniques and creative inspiration. Whether you are a beginner or someone looking to refine your skills, this step-by-step approach will help you achieve professional-looking results.
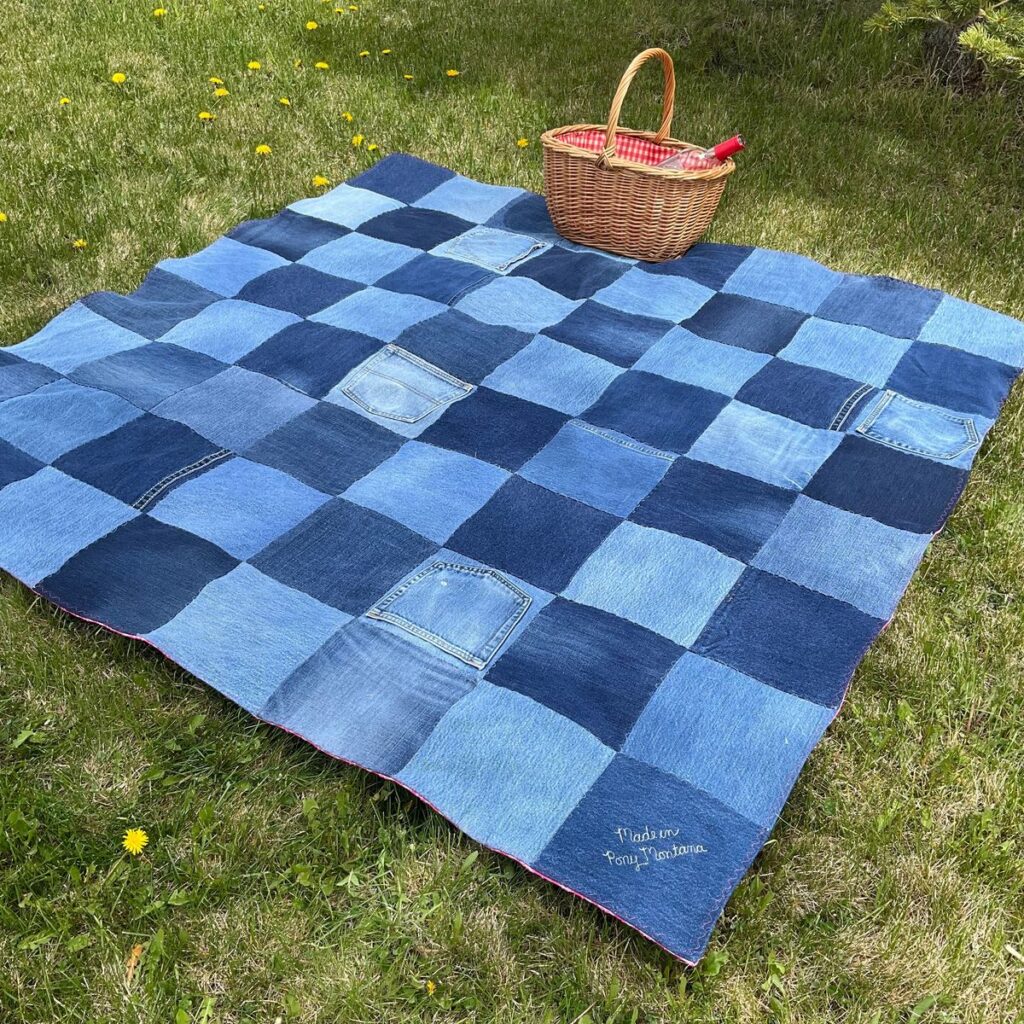
Creating a patchwork blanket tutorial piece is not just about sewing fabric together—it is about storytelling through textures, colors, and patterns. Each square you add represents a small piece of creativity, and when combined, they form a unique blanket that reflects your personal style. This makes patchwork one of the most rewarding crafts, especially for those who enjoy working with fabric and design.
Another reason why the patchwork blanket tutorial is so popular is its accessibility. You can start with leftover fabrics, recycled materials, or carefully selected prints. This flexibility allows you to create something meaningful without needing expensive supplies. Plus, the process itself is relaxing and highly satisfying, making it a perfect hobby for creative minds.
Selecting the right fabrics is one of the most important steps in your patchwork blanket tutorial journey. The materials you choose will determine the final look, texture, and durability of your blanket. Cotton fabrics are often recommended because they are easy to work with and provide a consistent finish.
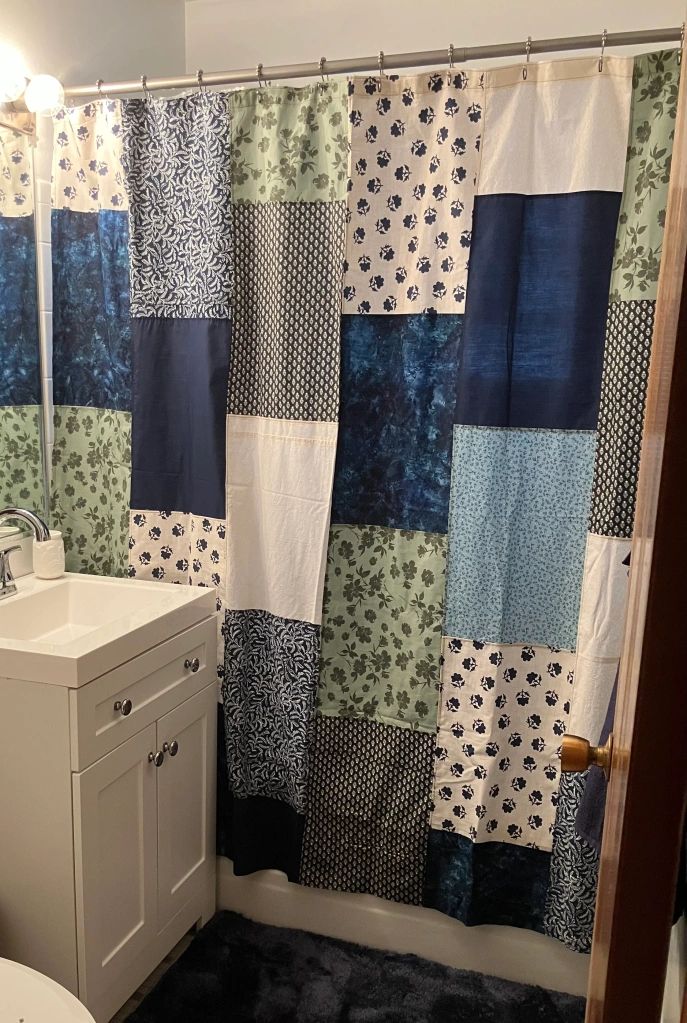
When planning your patchwork blanket tutorial, think about color harmony. You can choose a monochromatic palette for a modern look or mix vibrant prints for a more traditional patchwork style. Balance is key, so try to combine bold patterns with simpler ones to avoid overwhelming the design.
Texture also plays a role in your patchwork blanket tutorial. While most beginners stick to cotton, you can experiment with linen or soft blends once you gain confidence. Just ensure all fabrics have similar weights to make sewing easier and the final result more cohesive.
Pre-washing your fabrics is another essential step in any patchwork blanket tutorial. This prevents shrinkage and color bleeding after the blanket is completed. Skipping this step can lead to uneven results, so it is always better to prepare your materials properly.
Cutting accuracy is crucial in a patchwork blanket tutorial. Use a rotary cutter, ruler, and cutting mat to achieve precise squares or shapes. Consistency ensures that your pieces fit together perfectly during assembly.
Finally, organize your fabric pieces before sewing. Lay them out on a flat surface to visualize the pattern. This step helps you adjust colors and placement before committing to stitching in your patchwork blanket tutorial.
Once your fabrics are ready, the next stage in your patchwork blanket tutorial is cutting and arranging the pieces. This step transforms your ideas into a structured design that will guide the entire project.
Start by deciding the size of your squares or shapes. Common sizes include 4-inch or 5-inch squares, which are beginner-friendly and easy to manage. Keeping measurements consistent is essential in any patchwork blanket tutorial.
After cutting, arrange the pieces on a design board or table. This allows you to experiment with different layouts. You can create patterns such as checkerboards, stripes, or random arrangements depending on your preference in the patchwork blanket tutorial.
Pay attention to color distribution during this stage. Avoid placing similar colors too close together unless you are aiming for a specific effect. A balanced layout enhances the visual appeal of your patchwork blanket tutorial.
Take a photo of your arrangement before sewing. This serves as a reference in case pieces get mixed up. It is a simple but effective trick often used in professional patchwork blanket tutorial projects.
Labeling rows can also help maintain order. Use small notes or pins to mark sections so you can easily follow your design as you sew your patchwork blanket tutorial.
This preparation stage might seem time-consuming, but it ensures a smoother sewing process and a more polished final result in your patchwork blanket tutorial.
The sewing phase is where your patchwork blanket tutorial truly comes to life. Begin by stitching individual squares together to form rows. Use a consistent seam allowance, typically ¼ inch, for accuracy.
Pressing seams is a key technique in any patchwork blanket tutorial. After sewing each row, press the seams flat using an iron. This helps reduce bulk and keeps your blanket looking neat and professional.
Once your rows are ready, sew them together carefully. Align the seams where the squares meet to maintain a clean grid pattern in your patchwork blanket tutorial. Pinning can help keep everything in place.
Take your time during assembly. Rushing can lead to uneven lines or mismatched corners, which can affect the overall look of your patchwork blanket tutorial.
After assembling the top layer, prepare the backing fabric and batting. These layers provide warmth and structure, making your patchwork blanket tutorial both functional and comfortable.
Finally, quilt the layers together by stitching through all three layers. You can use straight lines, free-motion quilting, or simple patterns depending on your skill level in the patchwork blanket tutorial.
Finishing your patchwork blanket tutorial project involves adding the final details that complete the blanket. Binding the edges is the last step, giving your blanket a clean and polished border.
Choose a binding fabric that complements your design. This small detail can enhance the overall look of your patchwork blanket tutorial and tie all elements together beautifully.
Sew the binding carefully, either by machine or by hand. Take your time to ensure even edges and secure stitching in your patchwork blanket tutorial.
Once finished, wash your blanket gently to soften the fabric and enhance its texture. This step gives your patchwork blanket tutorial a cozy, lived-in feel.
Proper care will extend the life of your blanket. Wash with mild detergent and avoid high heat drying to preserve the quality of your patchwork blanket tutorial.
Storing your blanket correctly is also important. Keep it in a dry place and avoid direct sunlight to prevent fading, ensuring your patchwork blanket tutorial remains beautiful for years.
What is a patchwork blanket tutorial?
A patchwork blanket tutorial is a step-by-step guide that teaches how to create a blanket by sewing together fabric pieces into a cohesive design.
Is patchwork suitable for beginners?
Yes, a patchwork blanket tutorial is ideal for beginners because it uses simple shapes and basic sewing techniques.
What fabric is best for patchwork?
Cotton is the most recommended fabric in any patchwork blanket tutorial due to its ease of use and durability.
How long does it take to make a patchwork blanket?
The time varies depending on size and complexity, but a basic patchwork blanket tutorial project can take a few days to complete.
Do I need a sewing machine?
While a sewing machine speeds up the process, a patchwork blanket tutorial can also be completed by hand sewing.
How do I choose colors for patchwork?
Follow a color palette or mix complementary shades to create balance in your patchwork blanket tutorial.
Can I use leftover fabric?
Yes, using scraps is one of the best ways to create a unique and sustainable patchwork blanket tutorial project.
Conclusion
In this complete patchwork blanket tutorial, you learned how to choose fabrics, cut and arrange pieces, sew and assemble the blanket, and apply the finishing touches.
Each step plays a crucial role in creating a beautiful and durable piece that reflects your creativity. Patchwork is more than just a craft—it is a relaxing and rewarding experience that allows you to turn simple materials into something meaningful.
Now it is your turn to start your own project. Share your honest opinion about this guide and feel free to leave suggestions or ideas for future tutorials.


