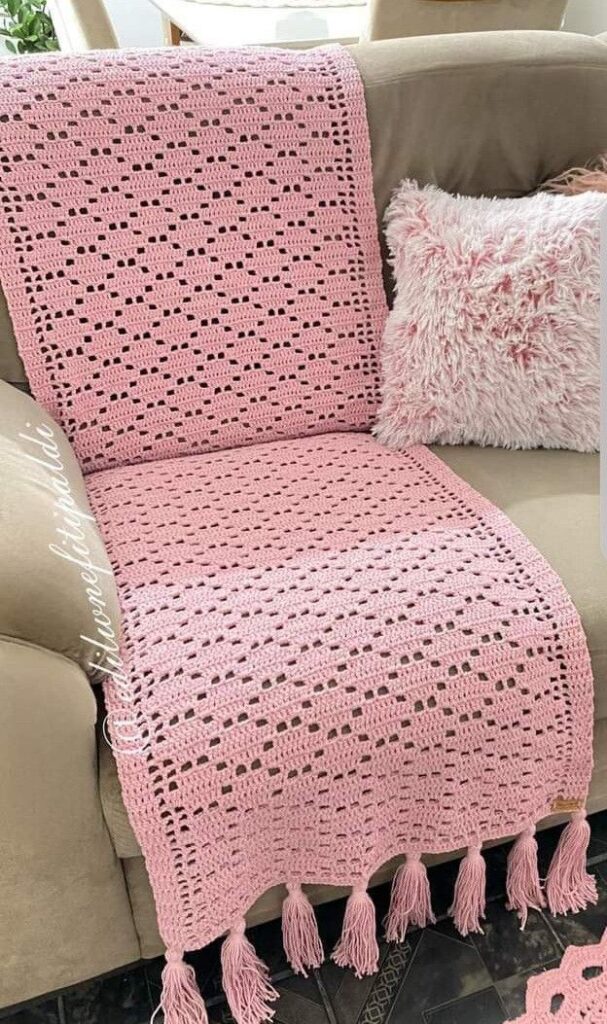
Elegant crocheted blanket

If you’re wondering how to crochet a blanket step-by-step (for complete beginners!), you’ve come to the perfect place. Starting a crochet project as a beginner can seem overwhelming, but this guide will help you every step of the way. Learning crochet patterns doesn’t have to be difficult, and this tutorial is designed to make it simple and enjoyable.
When you are just beginning with crochet, a blanket is one of the easiest and most rewarding projects you can start. It allows you to practice basic stitches while creating something beautiful and functional. The best part is that you can complete this crochet pattern even if you have no previous experience.
In this detailed step-by-step guide, we will cover the materials, sizes, measurements, and instructions you need to successfully crochet your first blanket. The key to succeeding in your first crochet project is patience, practice, and following the crochet pattern carefully. Let’s dive into this easy and satisfying craft!
When learning how to crochet a blanket step-by-step (for complete beginners!), the first thing you need to do is choose the right materials. Selecting suitable yarn and crochet hooks will ensure that your blanket turns out soft, cozy, and well-shaped.
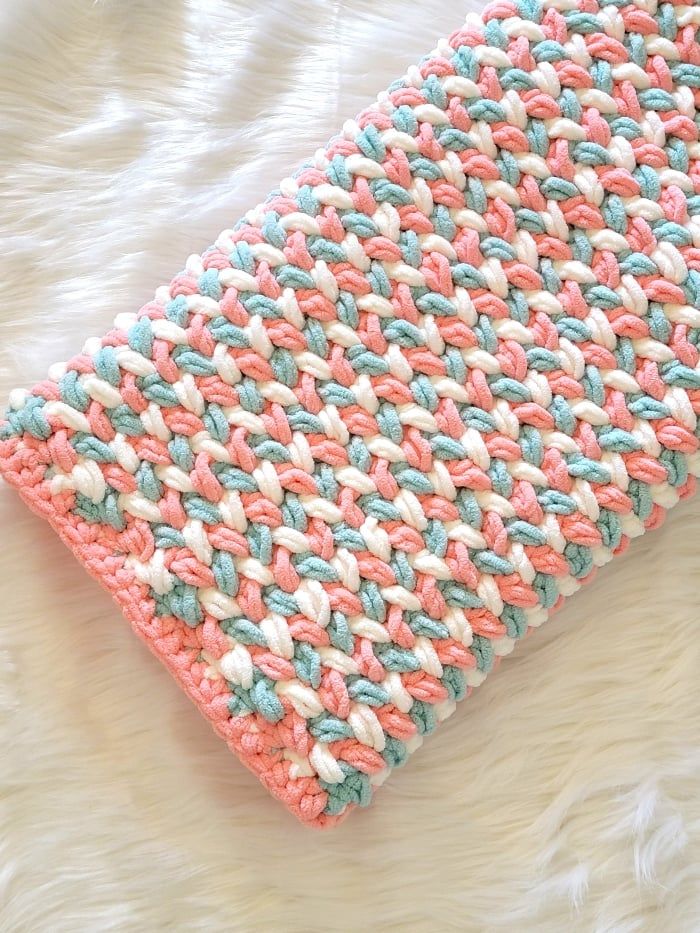
For a beginner-friendly crochet pattern, it’s best to use medium-weight yarn (category 4) because it’s easy to handle and shows stitches clearly. Acrylic yarn is a popular choice since it’s soft, durable, and affordable. Choose a light-colored yarn to make it easier to see your stitches.
When it comes to hook size, a 5.5 mm (I-9) crochet hook is typically recommended for this kind of crochet project. It complements the medium-weight yarn perfectly and helps beginners manage their tension comfortably.
Blanket size is flexible and can be adjusted to your needs. For a small lap blanket, aim for approximately 90 cm x 120 cm (35 in x 47 in). If you want a larger throw, you can work up to 120 cm x 150 cm (47 in x 59 in). You can customize the size by adjusting the starting chain.
You will also need a pair of sharp scissors, a yarn needle for weaving in the ends, and a tape measure to help you monitor your progress as you work through the crochet pattern.
It’s essential to gather all your materials before starting. Having everything ready will help you stay focused and enjoy your crochet journey without interruptions.
The first step in how to crochet a blanket step-by-step (for complete beginners!) is creating the foundation chain. This chain sets the base for the entire crochet pattern and determines the width of your blanket.
Start by making a slip knot and placing it on your crochet hook. Then, create a chain that is a multiple of 3 plus 2 extra chains. For example, if you want your blanket to be 90 cm wide, you can start with around 90 chains + 2 additional chains.
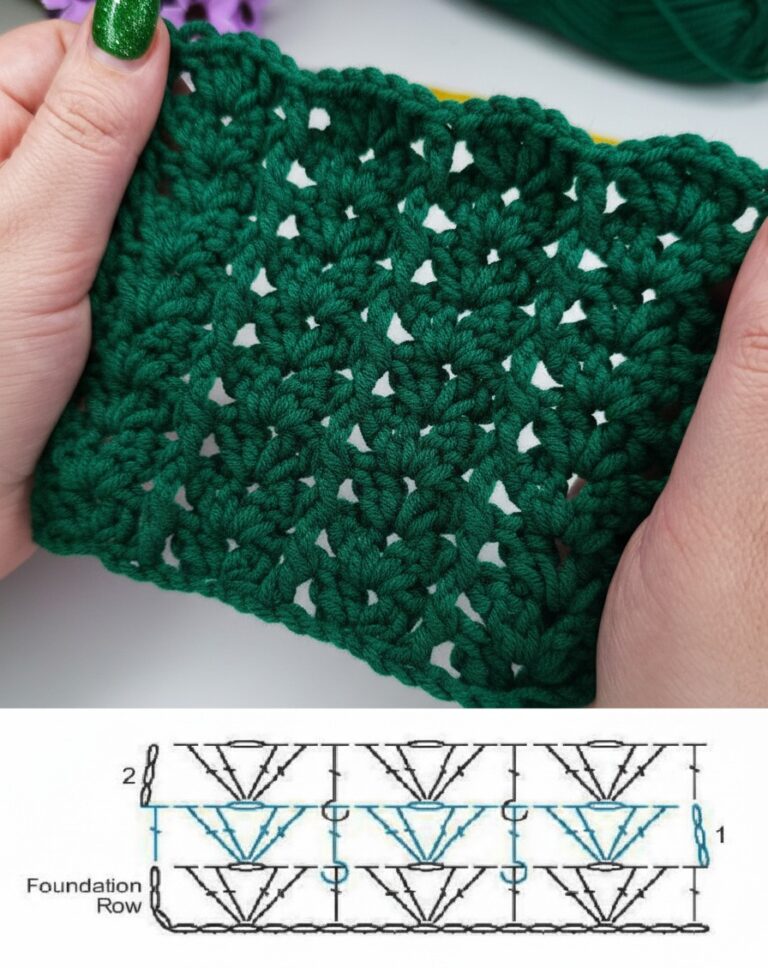
Once you’ve made your foundation chain, you will begin your first row using the double crochet stitch. This is one of the easiest and most versatile stitches for beginners learning crochet patterns.
Insert your hook into the fourth chain from the hook, yarn over, pull through, yarn over again, and pull through two loops, yarn over again, and pull through the remaining two loops. Repeat this double crochet stitch across the entire row.
When you finish your first row, chain three and turn your work. This prepares you to start the next row of your crochet blanket. Remember to keep your tension even to maintain consistent stitch sizes.
As a beginner, it’s common to have slightly uneven edges at first. Don’t worry—your skills will improve as you continue to practice this crochet pattern. Be patient and keep going.
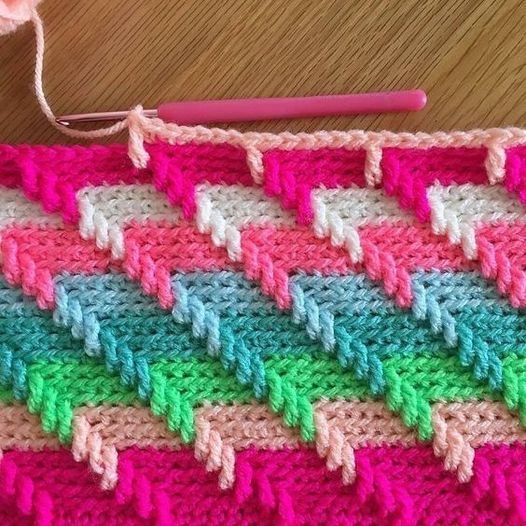
In this part of how to crochet a blanket step-by-step (for complete beginners!), you will focus on building the body of the blanket by repeating rows until you reach your desired length.
After turning your work, continue making double crochet stitches into each stitch from the previous row. Each time you reach the end of a row, chain three and turn your work again. This repetition is what forms the beautiful structure of your crochet blanket.
Make sure to count your stitches regularly. This helps ensure your edges remain straight and your crochet pattern doesn’t unintentionally increase or decrease in size. Consistent stitch count is key to a professional-looking blanket.
Continue this process until your blanket reaches the desired length. For a small lap blanket, you may aim for 120 cm (47 in) in length. For a throw blanket, you can continue to 150 cm (59 in) or more, depending on your preference.
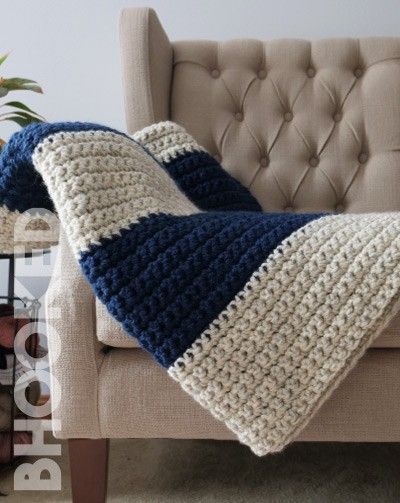
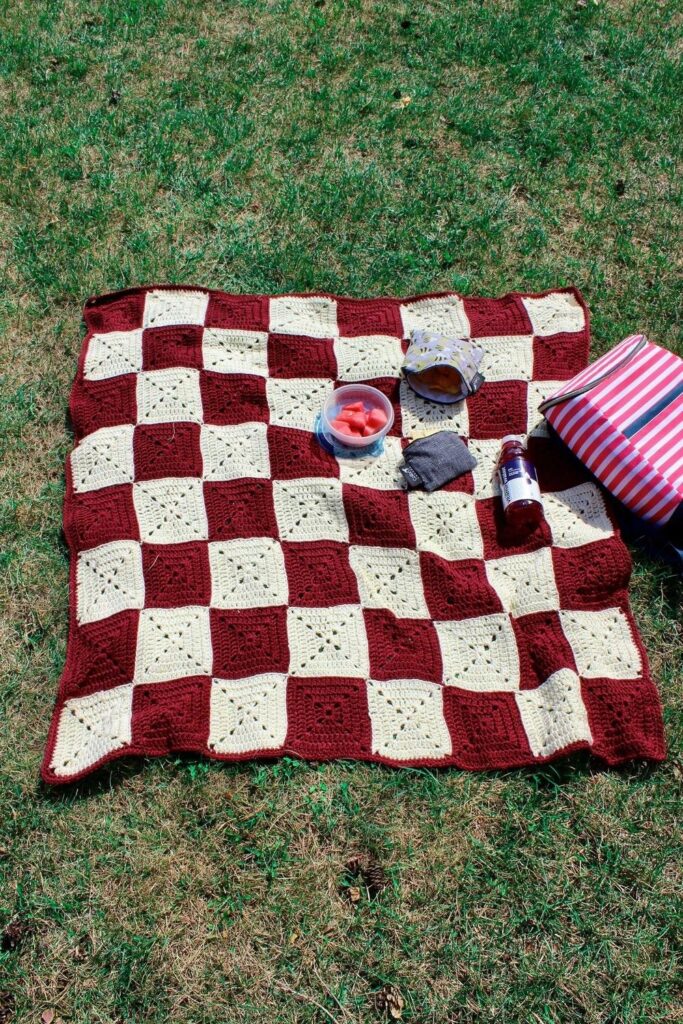
As you work through your rows, feel free to change colors to create stripes or a color block design. Simply fasten off one color and join a new color by tying a small knot and continuing your crochet as normal.
Switching colors can make your blanket visually appealing and add a personalized touch. Beginners often enjoy this step because it’s a simple way to make the project unique without complicating the crochet pattern.
After completing the body of your blanket, the final steps in how to crochet a blanket step-by-step (for complete beginners!) involve adding a neat border and securing your stitches.
Start by working a simple single crochet stitch all the way around the edges of your blanket. This gives your blanket a clean and finished appearance. When you reach a corner, make three single crochets into the same stitch to help the corner turn smoothly.
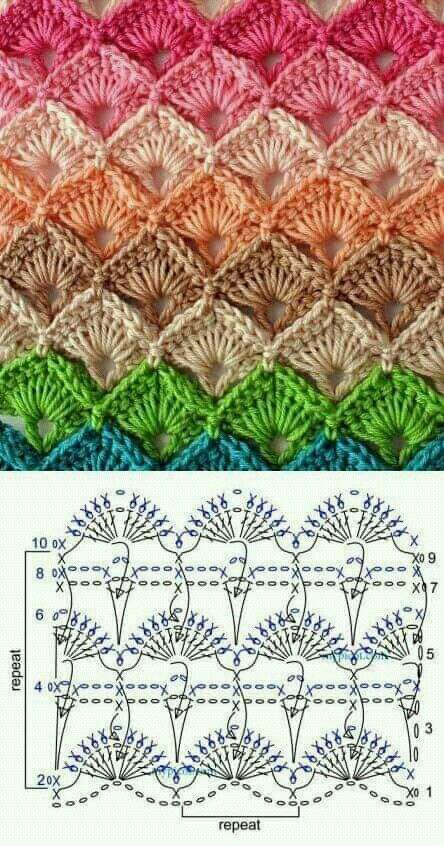
If you wish, you can add more decorative borders such as the shell stitch or picot edging. These options add flair to your crochet pattern while remaining beginner-friendly.
Once your border is complete, cut the yarn leaving a tail of about 15 cm (6 inches). Use a yarn needle to weave in all the loose ends neatly into the stitches of your crochet blanket.
Take your time weaving in ends to ensure the threads are secure and hidden. Properly woven ends will prevent your blanket from unraveling over time and will make your finished project look polished.
Gently block your blanket by laying it flat and spraying it lightly with water, then let it air dry. This step helps even out your stitches and improves the final look of your crochet pattern.
Congratulations! You’ve now completed your first crochet blanket using a simple and effective crochet pattern that’s perfect for complete beginners.
One of the best pieces of advice for how to crochet a blanket step-by-step (for complete beginners!) is to practice patience. It’s normal to make mistakes when you’re starting out, but each stitch helps you build confidence.
Be sure to always read your crochet pattern carefully and follow each step at your own pace. There’s no rush in crafting—it’s meant to be a relaxing and creative process.
When selecting yarn for future projects, experiment with different textures and colors. Working with a variety of materials will help you improve your crochet skills and discover what you enjoy the most.
Joining a local crochet group or an online community can be helpful. Other crafters can provide tips, feedback, and encouragement as you work on your crochet patterns.
If you feel ready to advance, try adding new stitches or incorporating granny squares and other creative designs into your next blanket. Crochet is a wonderfully versatile craft, and the possibilities are endless.
By following this complete how to crochet a blanket step-by-step (for complete beginners!) guide, you now have all the tools to start your crochet journey. Enjoy each moment, and soon you’ll be creating beautiful, cozy blankets for yourself and your loved ones.


