
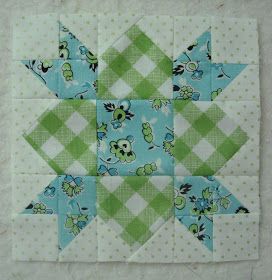
Twisted Post Quilt Pattern

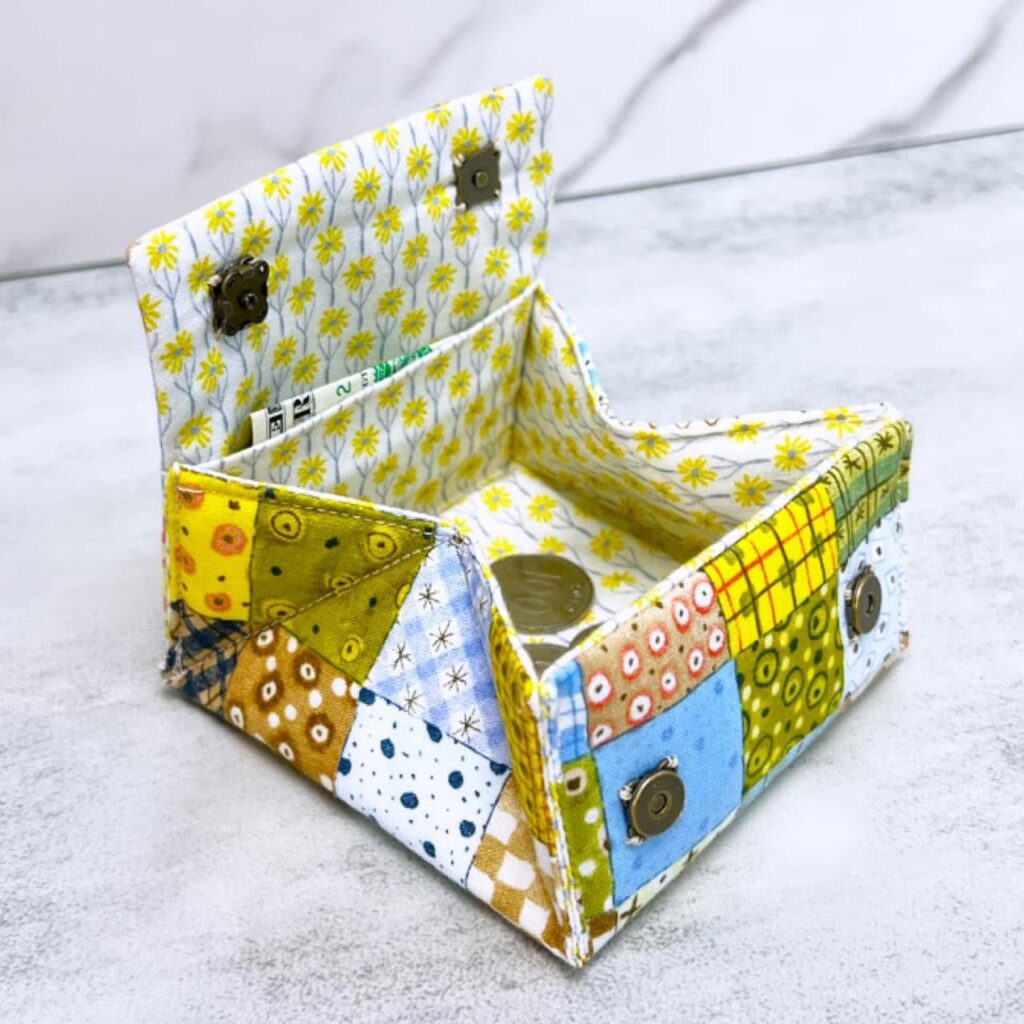
DIY coin purse 🧵 Sewing tutorial is a practical and creative project that allows anyone to craft a stylish and functional accessory with simple materials. This DIY coin purse 🧵 Sewing tutorial is designed for beginners and experienced sewists who want to create something useful while improving their sewing skills. A handmade coin purse is perfect for storing coins, small essentials, earbuds, or even tiny personal items. Because the project is compact and manageable, it offers a quick sense of accomplishment while teaching valuable sewing techniques that can be applied to larger projects.
Creating a DIY coin purse 🧵 Sewing tutorial project is also an excellent way to explore fabric combinations and experiment with design. You can personalize your purse with colorful prints, textured fabrics, or minimalist styles depending on your taste. Small sewing projects like this are ideal for practicing precision, straight seams, and zipper installation without committing to a large or complex pattern. With patience and careful measurements, even beginners can produce a polished and durable coin purse that looks professionally made.
Another reason why the DIY coin purse 🧵 Sewing tutorial is so popular is its affordability and versatility. It requires only small fabric pieces, making it a great way to use leftover scraps from previous sewing projects. Additionally, handmade coin purses make thoughtful gifts for friends and family. By mastering this simple sewing tutorial, you gain confidence in working with linings, closures, and finishing details. As you continue reading, you will learn step-by-step instructions, material recommendations, and creative customization ideas to elevate your sewing skills.
Choosing the right fabric is essential for a successful DIY coin purse 🧵 Sewing tutorial. Cotton fabric is often recommended for beginners because it is easy to handle and sew. For added durability, you may consider canvas or lightweight denim.
Interfacing plays a key role in giving structure to your coin purse. Fusible interfacing adds stability to the outer fabric, helping the purse maintain its shape even with regular use. This step enhances the professional appearance of the finished product.
A zipper is commonly used as the closure for this project. Selecting a zipper that matches the width of your purse ensures smooth opening and closing. Neutral or contrasting zipper colors can both create attractive results.
Basic sewing tools such as scissors, pins, measuring tape, and a sewing machine are required. Accurate measurements are crucial for ensuring that all pieces align correctly during assembly.
Thread selection should complement your fabric. Strong polyester thread is ideal because it withstands tension and frequent handling without breaking easily.
Before sewing, wash and iron your fabric to prevent shrinkage and wrinkles. Preparing your materials properly ensures a cleaner and more precise sewing process.
Begin your DIY coin purse 🧵 Sewing tutorial by cutting two outer fabric pieces and two lining pieces to your desired dimensions. A common beginner size is approximately 5 by 4 inches, but you can adjust this as needed.
Next, apply interfacing to the wrong side of the outer fabric pieces. Follow the manufacturer’s instructions for fusing, ensuring the interfacing bonds securely.
Attach the zipper to one outer fabric piece, right sides together. Place the lining piece on top, creating a fabric sandwich with the zipper in between, then stitch carefully along the zipper edge.
Repeat the process on the other side of the zipper with the remaining outer and lining pieces. Once sewn, press the fabric away from the zipper to create a neat finish.
With the zipper partially open, align the outer fabrics together and the lining fabrics together. Sew around the edges, leaving a small gap in the lining for turning.
Trim excess seam allowance, turn the purse right side out through the gap, and stitch the lining closed. Push the lining inside the purse and shape the corners neatly.
One of the best parts of the DIY coin purse 🧵 Sewing tutorial is the opportunity for customization. You can experiment with different fabric patterns to create seasonal or themed designs.
Adding decorative topstitching along the zipper edge enhances durability and provides a polished look. This simple detail makes your purse appear more refined.
You may incorporate small tabs on the sides of the zipper for easier opening and closing. These tabs also add a decorative element to the design.
Personalization options such as embroidery, fabric labels, or appliqués can make your coin purse unique. Custom details are especially appealing if you plan to give the purse as a gift.
Consider using contrasting lining fabric to create a surprise pop of color inside the purse. This detail adds personality and visual interest.
For a more advanced variation, you can include internal card slots or small compartments. These additions increase functionality while maintaining a compact design.
Creating a DIY coin purse 🧵 Sewing tutorial project helps improve essential sewing skills such as zipper insertion and seam alignment. These techniques are foundational for more complex projects.
Handmade items allow for greater quality control compared to mass-produced accessories. You can select durable materials and ensure careful construction.
Sewing your own coin purse supports sustainable practices by utilizing fabric scraps and reducing waste. This approach promotes mindful crafting.
The compact size of the project makes it beginner-friendly and manageable within a short timeframe. Completing small projects builds confidence.
Handmade coin purses can be sold at craft fairs or online marketplaces, offering a potential source of supplemental income for creative entrepreneurs.
Most importantly, crafting your own accessories fosters creativity and provides a relaxing and rewarding hobby.
Is the DIY coin purse 🧵 Sewing tutorial suitable for beginners?
Yes, this project is ideal for beginners because it teaches basic sewing techniques in a manageable format.
What size zipper should I use?
Choose a zipper that matches the width of your purse, typically between 5 and 7 inches for a small coin pouch.
Can I sew this project by hand?
Yes, although using a sewing machine makes the process faster and more precise, hand sewing is possible with patience.
What type of interfacing is best?
Light to medium-weight fusible interfacing works well to provide structure without making the purse too stiff.
How long does it take to complete the project?
Most beginners can finish the coin purse within one to two hours, depending on experience.
Can I wash the finished coin purse?
Yes, if made with washable fabric, it can be gently hand-washed and air-dried.
Conclusion
The DIY coin purse 🧵 Sewing tutorial is a practical and creative sewing project that combines functionality with style.
Throughout this guide, we explored material selection, step-by-step construction, customization ideas, and the many benefits of sewing your own accessories. By mastering zipper installation, accurate cutting, and neat finishing techniques, you can create a durable and attractive coin purse suitable for personal use or gifting.
This small yet impactful project helps build confidence and encourages further exploration into the world of sewing. We hope this tutorial has inspired you to start your own handmade coin purse. Please share your honest opinion and suggestions, as your feedback helps improve future tutorials and supports a thriving community of sewing enthusiasts.


